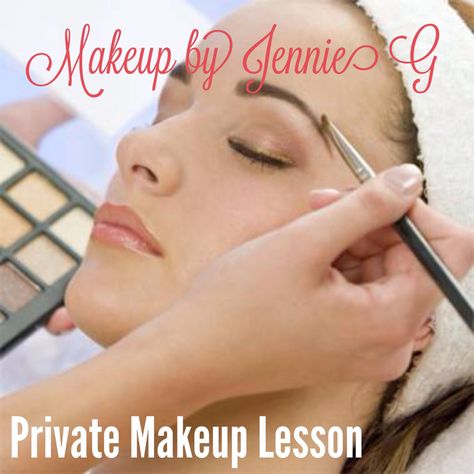
From feeling lost at the beauty store to binge watching makeup videos to get that perfect wedding look, we are here to teach you some makeup lessons along with step by step lesson videos that will leave you sorted and flawless at every event you step in. Be ready for glam up looks and beauty anytime, anywhere.
The confusion is not about what to apply and what to not the main hurdle to cross is to make that wing perfect, how can just mascara make your lash game strong and how to set those sparkles on your lids for the whole night. Just read below some makeup tips and you are ready to be a master yourself!
Content
How to wing it like a Make-Up Pro
Makeup Lesson
You always flaunt those cat eyes and winged eyeliner like a boss, but do you feel that your wing always disappoints you? It won’t anymore, as we have some simple steps for you to make that perfect wing with those eccentric eyeliners on your eyes and let everyone go ga-ga over them!
Start Practicing with a Pencil Eyeliner
If you are afraid of using the liquid eyeliner and that spoils your eyeliner look, start with a pencil eyeliner which is easy for beginners and won’t leave your eye all smudged even if you don’t get the wing right in the starting.
Use a make-up stencil
If you are facing a problem in drawing an even eyeliner or making that cat eye look, use a stencil instead. Some eyeliners come with in-built stencil case to use.
Using Eyeliner
Use stickers
If you are really an amateur and still in the learning phase, don’t risk it use wing-tip stickers to get the cat eye trick right.
Draw the Flick Backwards
Instead of trying to make the point of the flick on your winged eyeliner meet the spot you want it to end, try starting at the end and following the shape in toward your nose instead.
Oh so dense!
Do you want your eyes to catch all that attention? A defining and volumizing mascara is what you need my girl!
Some people have lashes really dense that they don’t require a mascara ever but for others you need to apply a good mascara to give volume to your lashes. Even though you are running super late just apply mascara and you are ready to go just to show you have put in some effort.
An improper application can ruin your look. If your mascara forms a cluster on your lashes or gives you an uneven look it may end up looking awful rather than appealing. To avoid this, read on.
You will need –
- A good mascara
- Primer for the eyes
- Eyeshadow of your choice
- Liner
- Clean mascara wand
- Lash curler
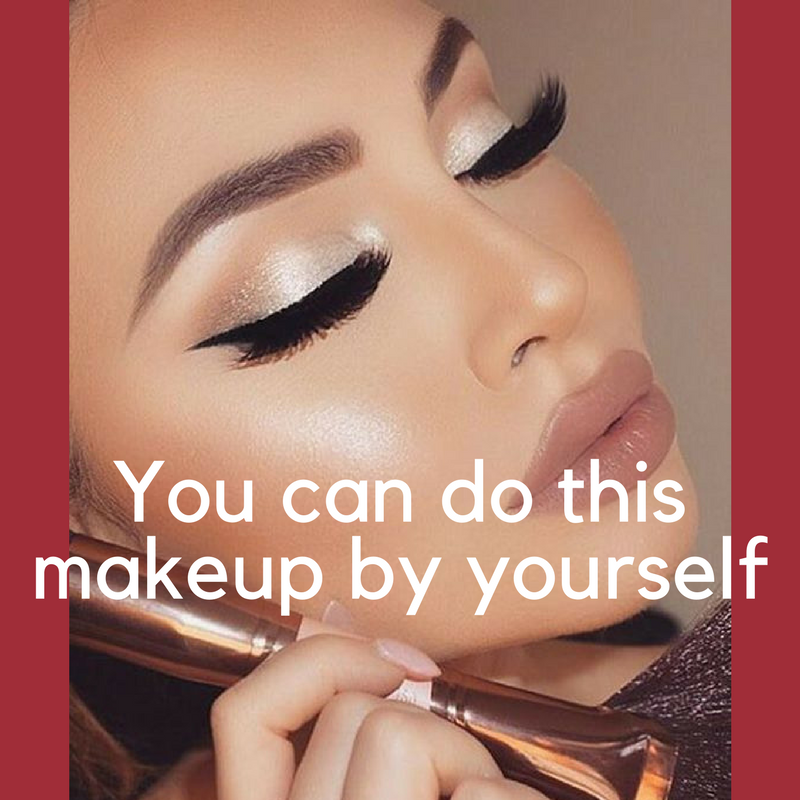
Makeup By Yourself
Step 1.
Get yourself the best!
Before starting anything else you need to find out which mascara will suit you the best. Do full research and following are the three points which can be the base of your research –
(a) Color: Mascaras don’t only come in one colour, there are many color options available so find the one which suits you best. The popular option is black or brown since this tends to open up your eyes and makes them look bright.
(b) Consistency: You need to know your choice first before buying a mascara that for what purpose you want to use it for- to volumize or lengthen? There are so many different options to choose from, so shop accordingly.
(c) Waterproof: Another important factor to consider is if you are around water mostly or are prone to excessive sweating. Or if you are just looking for something to really stay all day! Make sure to invest in a good mascara which has a long stay and is easy to remove even.
Step 2
Prepare your eyes
Your eyes are very delicate yet the most important part to be taken care of while applying makeup. If your eye makeup doesn’t come out right you will never get that perfect look. So you need to use a good primer to prepare your eyes before makeup and then start applying with the eyeshadow you have chosen.
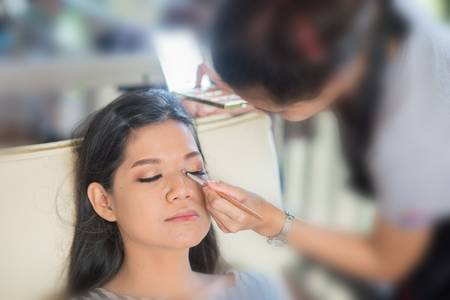
Prepare Your Eyes
Step 3
Eyeshadow
To make your lashes stand out go with a neutral eyeshadow palette. Proceed with applying the eyeshadow first covering your eyelid completely.
Step 4
Liner
Pro and a very important tip, always & always apply your liner first and then mascara. You may decide to draw a thick or a thin line. This totally depends on your preference as well as the kind of look that you are going for..
These were the steps before you go on to applying mascara!
Now let’s give it a read to the tricks as to how to apply your mascara perfectly-
Curl your lashes
Place the curler at the base of your upper lashes, close the curler and hold it in place for a few seconds.
Get the product on the wand
Hold the tube of mascara, swirl the wand around to coat the bristles with the mascara properly. Make sure you’re not repeatedly pumping your wand into the tube.
Coat Your Lashes!
Starting at the roots, apply mascara with a wriggling motion. Ensuring that there is more volume at the roots, and your lashes don’t feel weighed down

Coat Your Lashes!
Follow this makeup lesson video to know more –
Dress those lids!
Your every blink should say like you were born with these glitter eyes! If you have been done with priming up your eyes then you ready to start with the eyeshadow application. You need to first find a good eyeshadow brush for the process, that is soft so that it does not damage your eyelids.
After deciding with the brush first sweep over a neutral colour over your eyelids, make sure you always have a nude and go to colors in eyeshadows packed in your essentials. Once you are done with the base then you can go with experimenting colors according to your effect. Make sure your eyes look subtle if you want to with a bold lip shade and vice versa.
Make sure you blend you in a darker colour to your crease and never forget to apply highlighter above your crease and then press a light shade into the inside corner of the eye. So here we are done with the complete eye magic. Just follow this simple makeup lesson for eyes and you are ready to do the eye talking!
Reference-